Getting Started
- Access Your Network:
- Select the network you want to manage from your home screen.
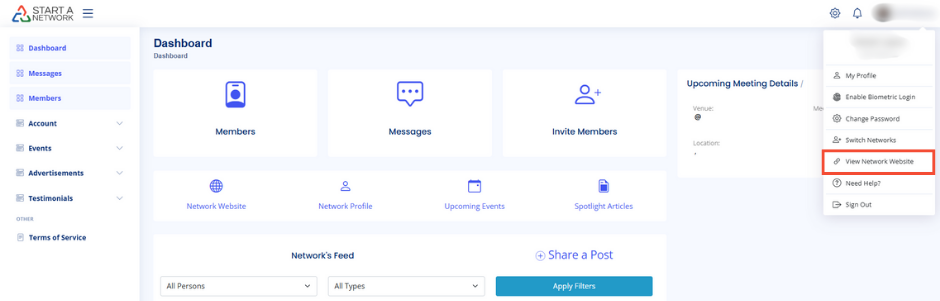
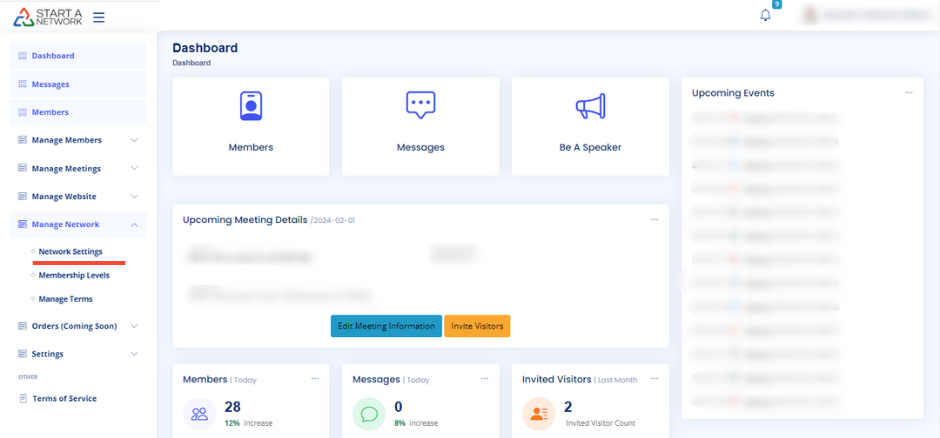
- Click Manage Network in the left-hand menu.

- Explore Options:
- Expand the menu to find Network Settings, Membership Levels, and Manage Terms.
- This video focuses on Network Settings.
Network Settings Overview
Customize your network’s functionality through four sections:
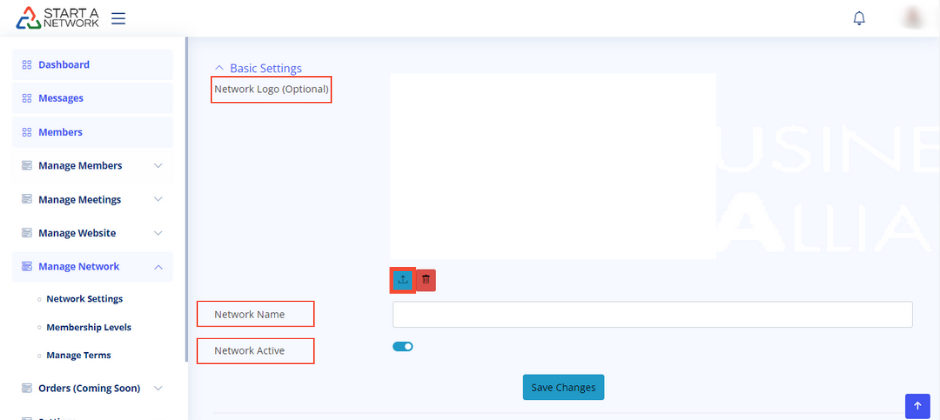
1. Basic Settings
- Update your network Name and Logo.
- Toggle between Active and Inactive modes.
- Upload logos (recommended: rectangular, light-colored). Crop and save directly within the platform.
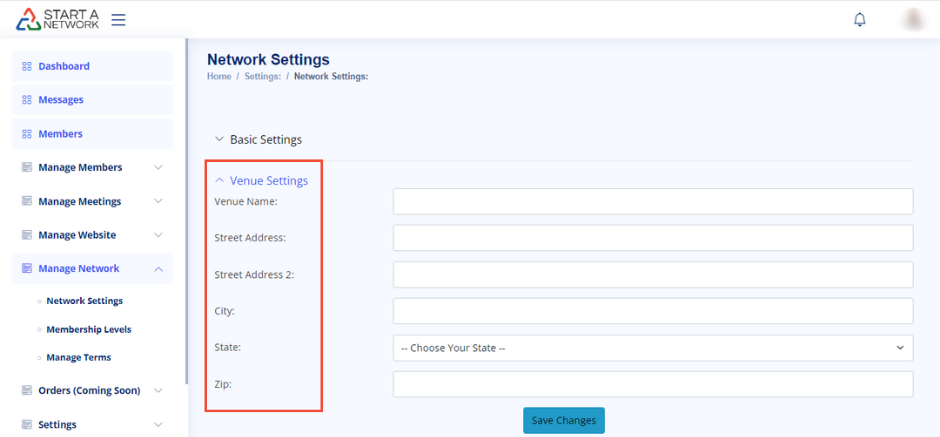
2. Venue Settings
- Enter your meeting venue details:
- Name, address, suite number (if applicable), city, state, and zip code.
- Select venues that fit your desired image and facilitate conversations (e.g., coffee shops with private rooms).
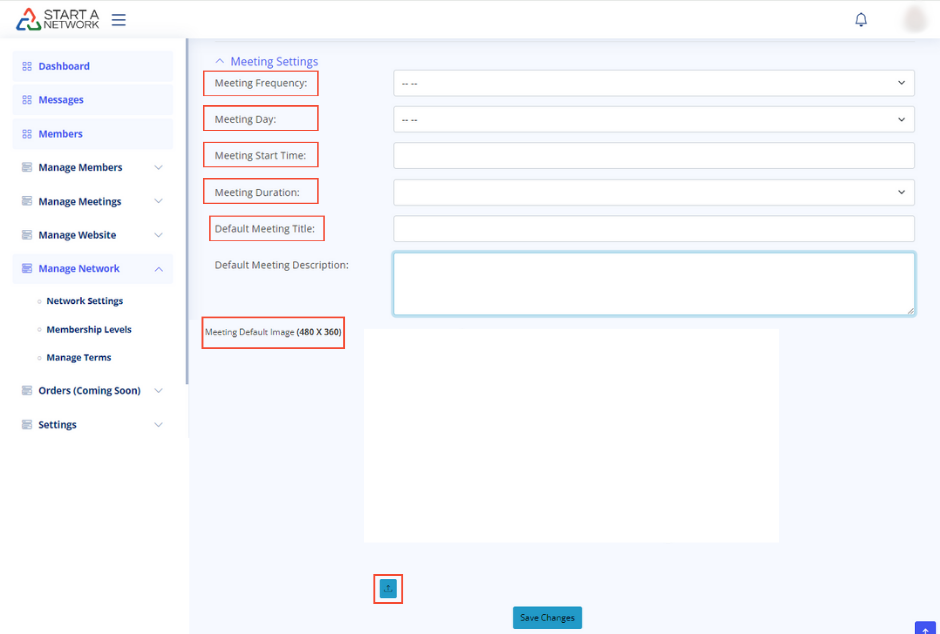
3. Meeting Settings
Configure your recurring meeting details:
- Frequency: Daily, weekly, monthly, quarterly.
- Day: Choose any day of the week.
- Start Time: Specify AM or PM.
- Duration: Options range from 30 minutes to a full day.
- Default Title & Image: Used as placeholders for upcoming events.
- Upload meeting images (recommended size: 480×360 pixels).
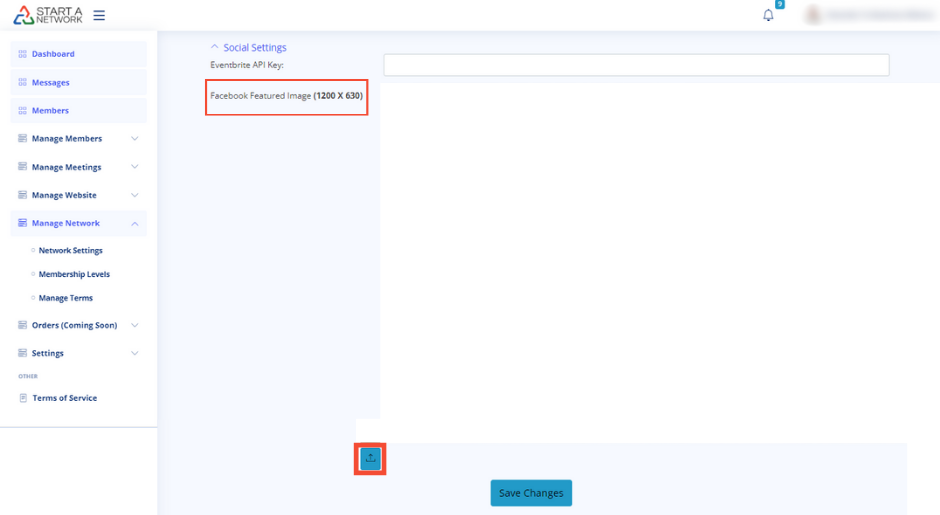
4. Social Settings
- Set a default Facebook Featured Image for shared links (recommended size: 1200×630 pixels).
- Note: Eventbrite API integration is in beta and available only to beta users.
Final Steps
- Always click Save Changes after completing each section.
- Test your updates by viewing your network website or sharing links on social media.