Getting Started
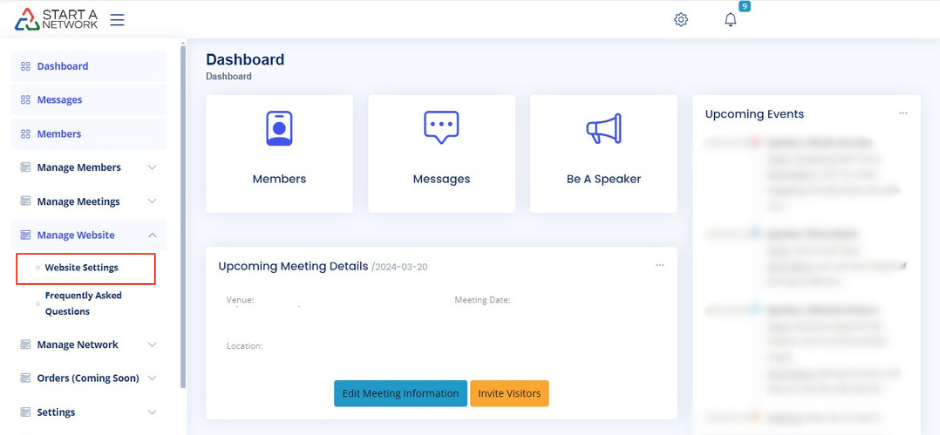
- Log in to your dashboard.
- Navigate to “Manage Website” in the left-hand menu.
- Expand the menu to reveal two options:
- Website Settings
- Frequently Asked Questions
- Click on Website Settings. This will open a screen where you can customize your website.
 The Navigation Settings section will be located just below the General Settings section.
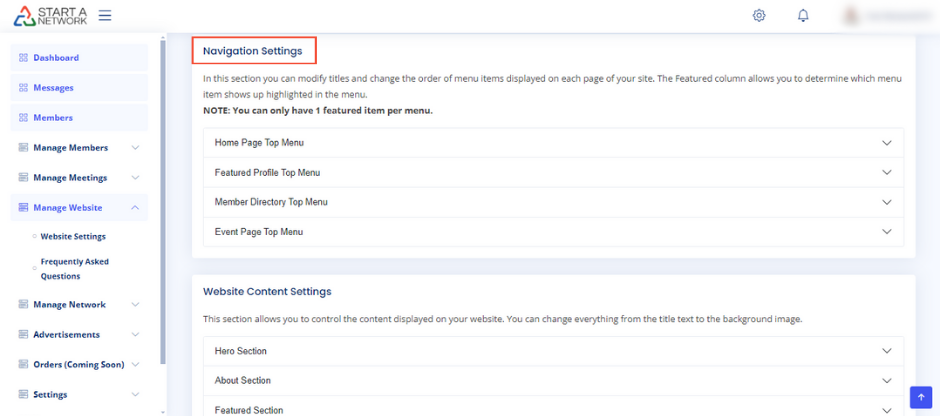
Understanding Navigation Settings
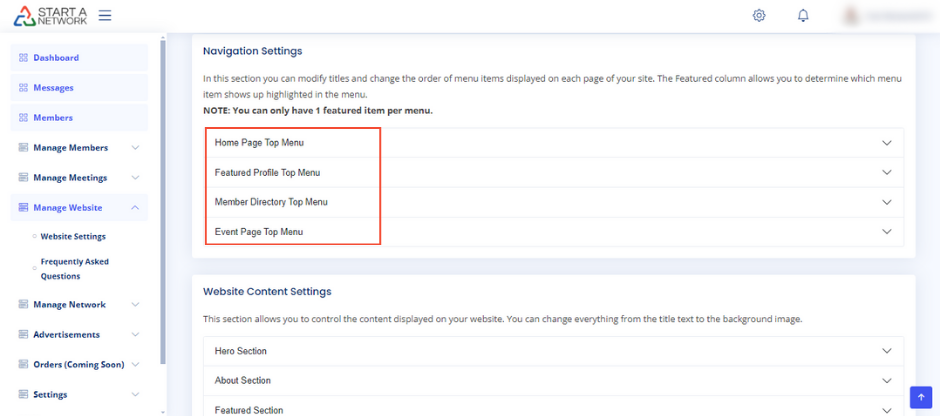
The Navigation Settings section allows you to control the top navigation bar menu items displayed on each page of your website. Here, you have four expandable options:
- Home Page Top Menu
- Featured Profile Top Menu
- Member Directory Top Menu
- Event Page Top Menu“
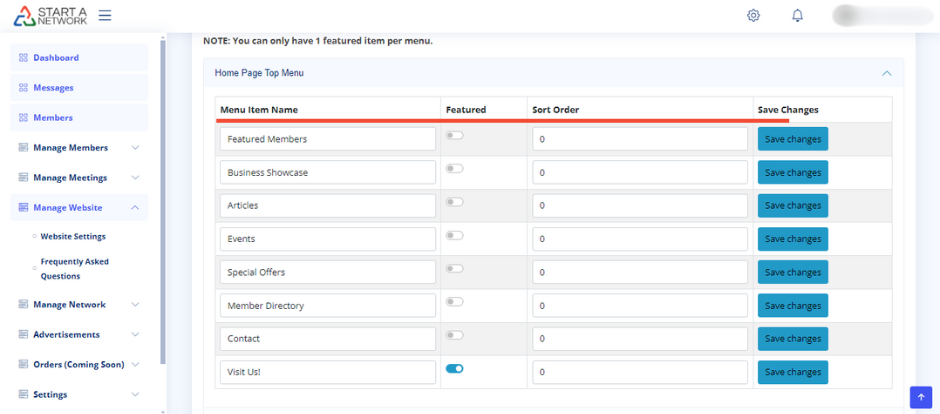
Each of these options has three key settings:
- Menu Item Name
- Featured
- Sort Order
Menu Item Name:
This is the text that will be displayed on the menu itself.
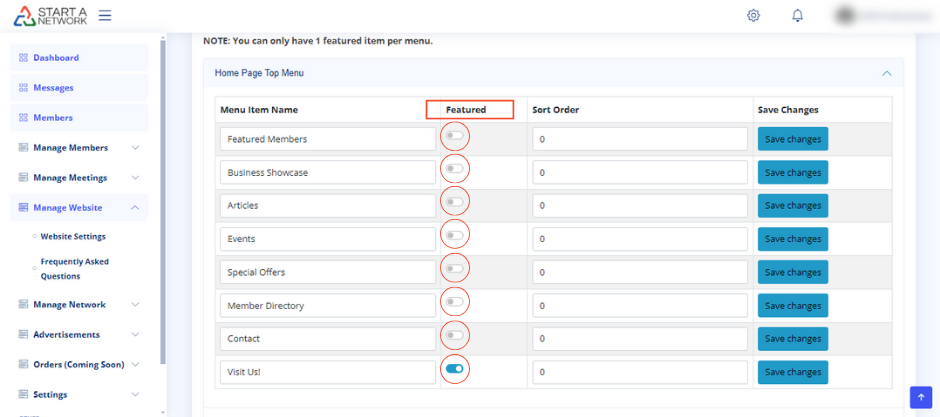
Featured:
This setting controls which menu item gets highlighted (featured) on each page. Keep in mind, you can only have one featured item at a time per menu.
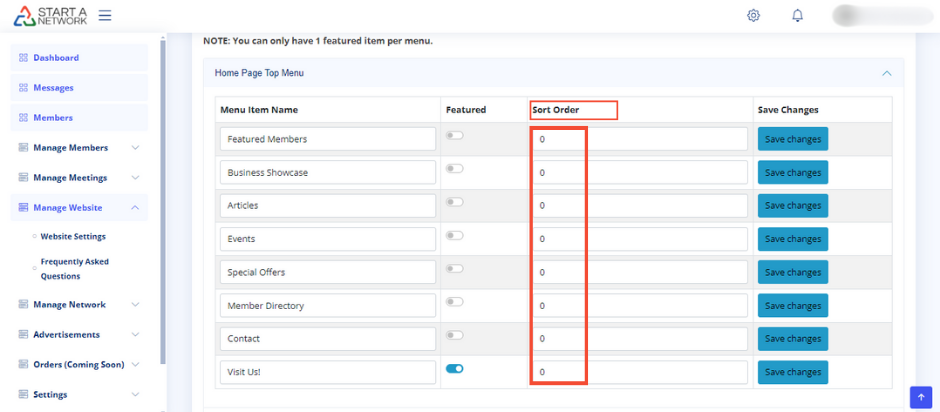
Sort Order:
This controls the order in which the menu items appear, from left to right across the page. Use a list of numbers to create this order. Make sure the numbers are unique; for example, avoid having two items with the number “3” in the sort order. If there’s a conflict, the system will display the item that is first in the list.
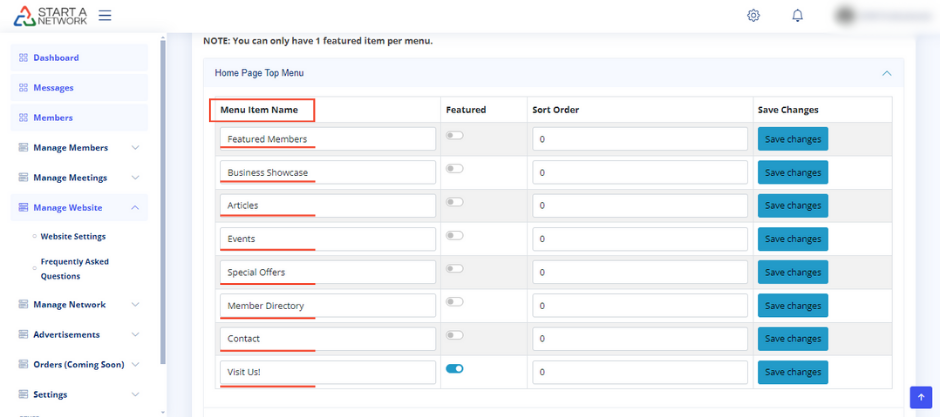
Customizing the Home Page Top Menu
Click on the “Home Page Top Menu” option to expand the menu. This section will present you with eight preloaded options:
- Featured Members
- Business Showcase
- Articles
- Events
- Special Offers
- Member Directory
- Contact
- Visit Us
These options are displayed horizontally on the top part of your network homepage. You can change any of these default names by typing in a new title in the input field and clicking Save Changes. Your changes will be reflected immediately on your network website.
Featured Setting:
To feature an item, toggle the switch on. Remember, only one item can be featured at a time.
Sort Order:
Assign unique numbers to each item to determine their order. For example, you might set “Featured Members” to 1, “Business Showcase” to 2, and so on.
Pro Tip:
Consistency is key. Use the same naming conventions across all sections of your site. For example, don’t refer to “Member Directory” on the homepage and “Directory” on the event page. This ensures a smooth and consistent experience for your users.
Once you’ve made your changes, don’t forget to click Save Changes for each menu item to ensure your edits are applied.
Customizing Other Menus
You can apply the same steps to customize the Featured Profile Top Menu, Member Directory Top Menu, and Event Page Top Menu. Each of these sections follows the same process, allowing you to adjust the menu items, featured items, and sort order to your preference.