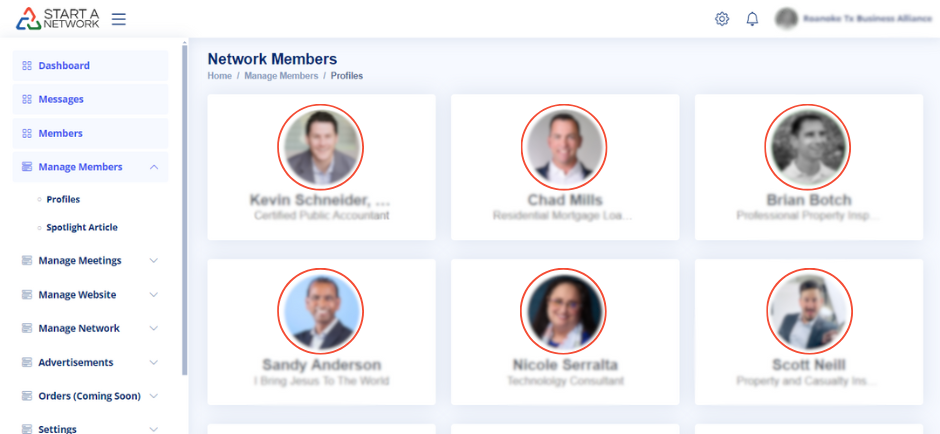
Network Members Panel
You will land in the Network Members administration panel. Here, you’ll see a list of your network members, including their image, full name, and their role in the network.
StartANetwork allows you to determine which of your network members can:
- Be featured on the network website
- Offer discounts to the public
- Participate in speaking roles at upcoming meetings
- Be featured as advertisers under the sponsor section
- Create spotlight articles for the network
These features are often tied to the membership level a member has chosen.
To manage a member’s profile, click on their picture in the list, and you will be directed to their Member Profile.
Member Profile Sections
The Member Profile has six sections: Overview, About, Social, Details, Business, and Settings. Let’s walk through each section and its purpose:
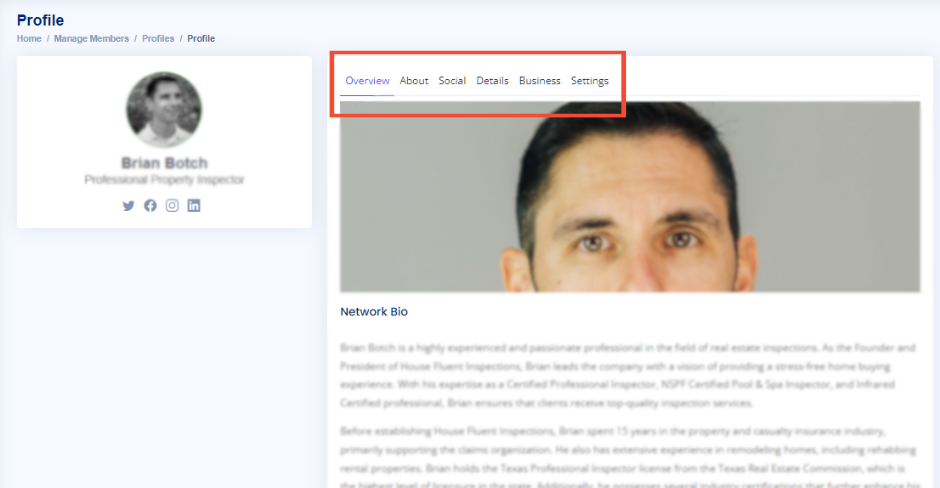
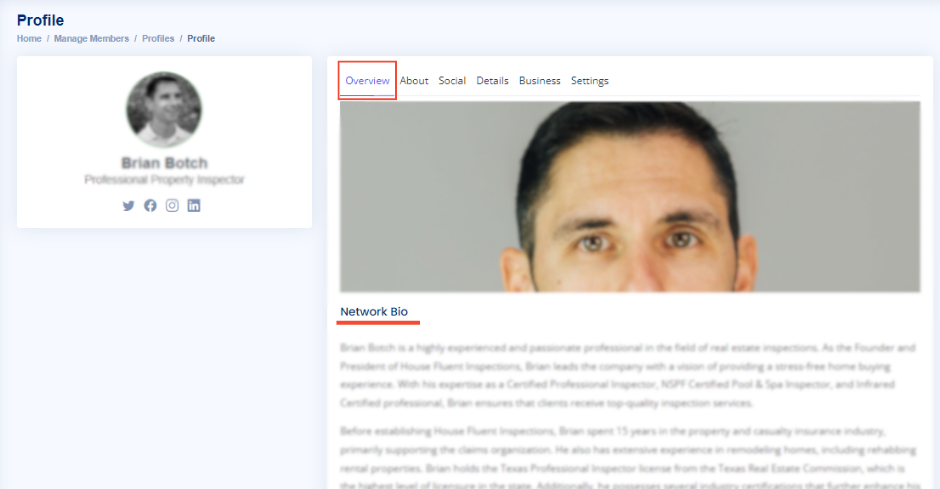
Overview Section
The Overview section shows you a preview of what the member’s profile will look like once all the required information is filled out.
About Section
The About section contains three options:
- Featured Image:
This is the photo that will be displayed in the Featured Member section on the website. Simply click the upload icon to add or change the photo. - Role in the Network:
This title helps website visitors understand the type of product or service the member offers. - Network Bio:
This is a concise summary of the member’s career highlights, achievements, skills, and qualifications. It helps visitors understand their expertise.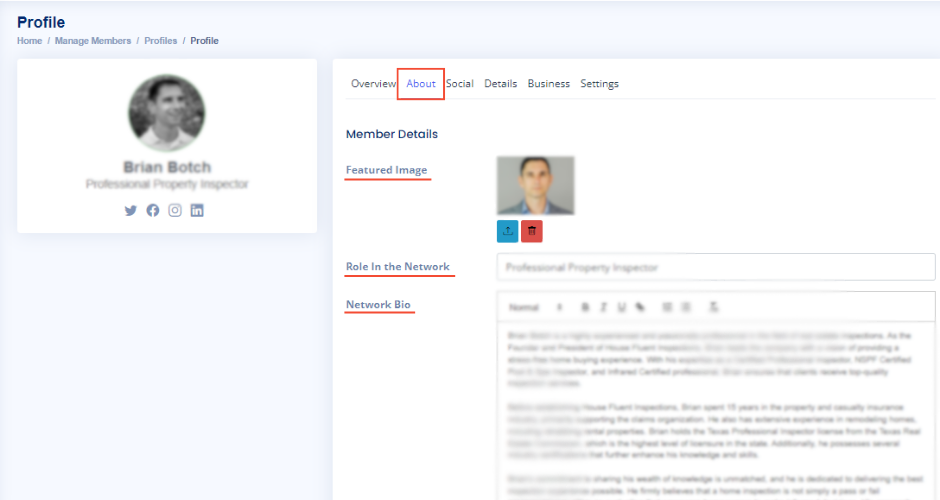
Pro Tip:
Remember to click “Save Changes” after editing each section to ensure the updates are saved and reflected in your member list.
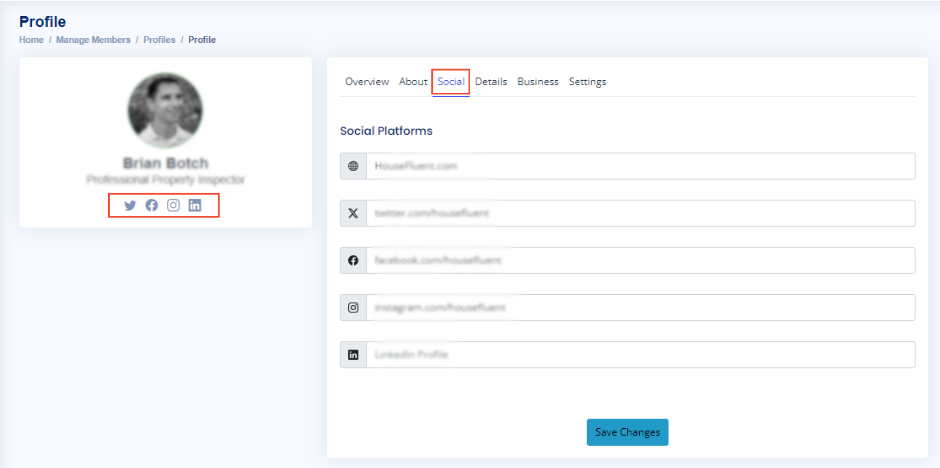
Social Section
The Social section includes five default social platforms, which you can customize:
- Website URL
- LinkedIn
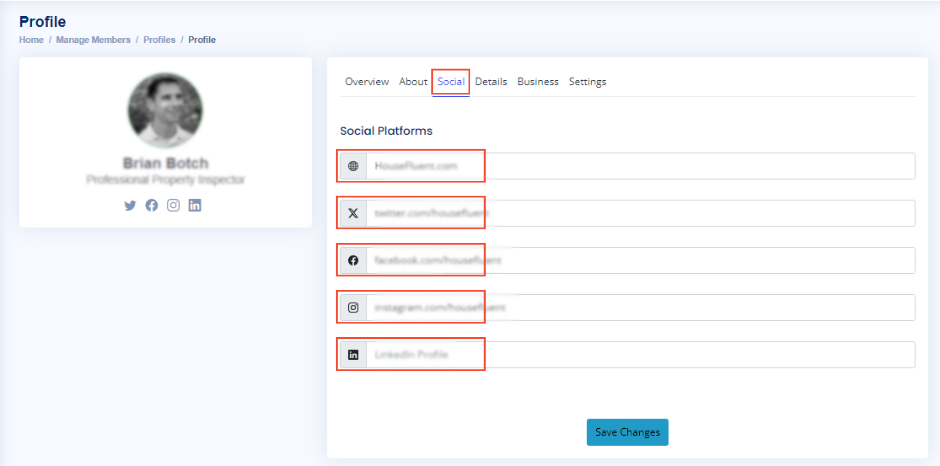
These links are displayed with icons next to the Role in the Network, allowing visitors to connect with the member on different platforms.
Details Section
The Details section has two options:
- Fast Facts:
This is where you can input four key facts about the member or their business. These facts can impress potential clients by showcasing achievements, such as:- The number of five-star reviews received (choose “number” as the fact format)
- Total dollar amount of homes sold (choose “currency” as the fact format)
- Example: A realtor could input the fact:
Fact Description: “Total dollar amount of homes sold in 2023”
Fact Format: “Currency”
Fact Section: “$20,000,000”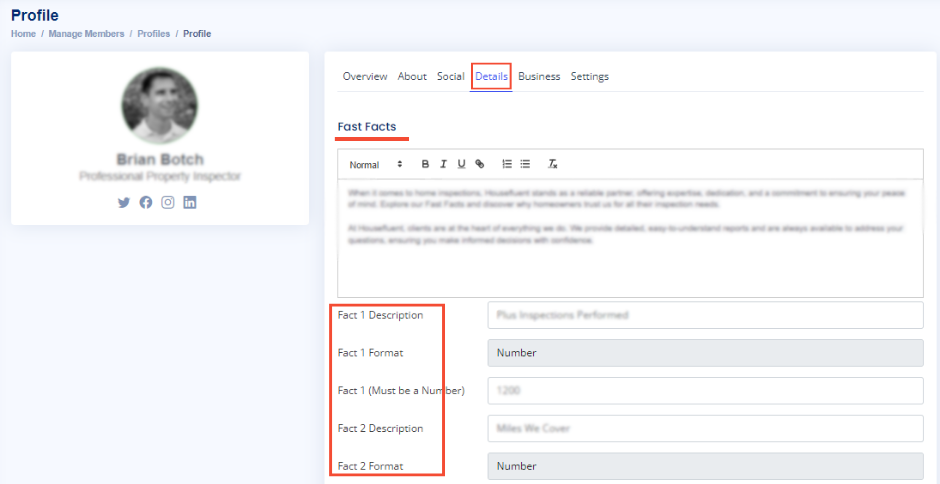
Business Section
The Business section includes six options:
- About Your Business:
Provide details about the company’s mission, vision, and values. - Business Name:
Input the business or brand name. - Business Phone:
Enter an active phone number where clients can reach the business. - Business Email:
Provide the business email (sales, support, or general inquiries). - Business Website:
Add the company’s website link. - Upload Business Logo:
Upload the company logo. Click the upload icon to select an image, and click the delete icon to change it.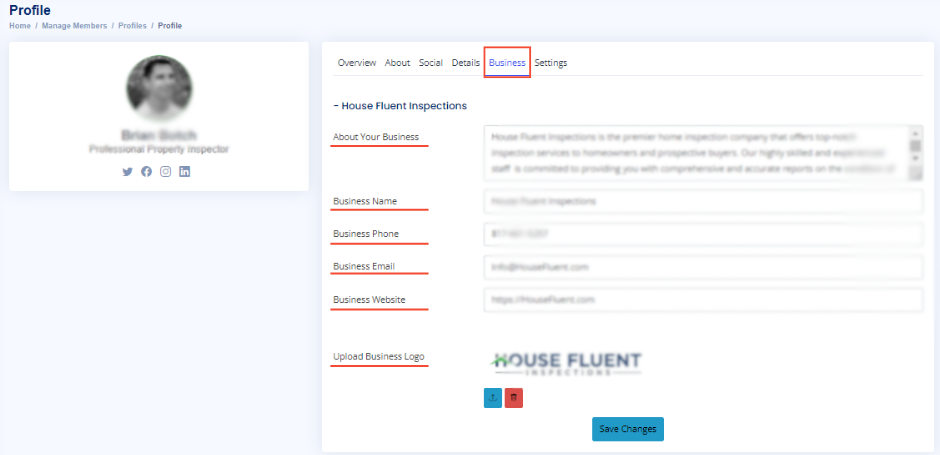
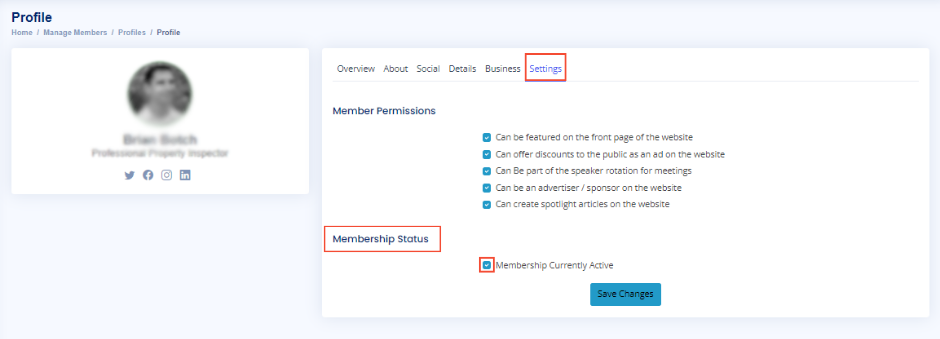
Settings Section
The Settings section has two important options:
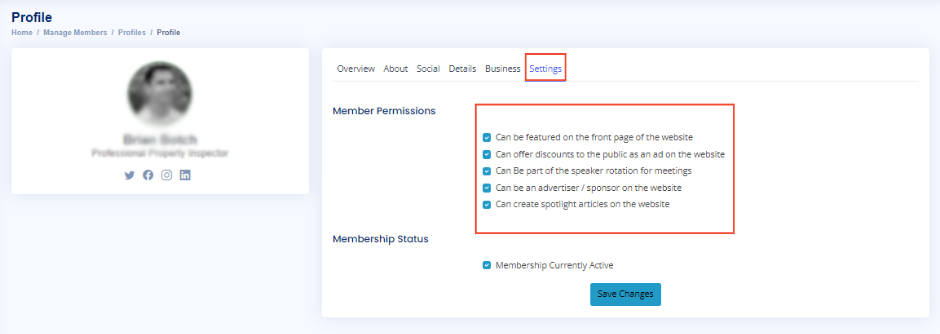
- Member Permissions:
This allows you to enable certain permissions for each member. They can:- Be featured on the website’s front page
- Offer discounts to the public as an ad
- Be part of the speaker rotation for meetings
- Be an advertiser/sponsor on the website
- Create spotlight articles
- Membership Status:
This is a toggle switch that controls whether the member’s profile is active and viewable to the public. You can set the profile to Inactive if the member hasn’t completed their profile or isn’t ready to represent the network as expected.